

InDesign 101 Part 1: Getting Started
Introduction
Adobe InDesign is one of my favorite Adobe tools to use and is a powerful tool for creating beautiful layouts for print and digital media. Whether you want to make magazines, posters, flyers, or e-books, InDesign has all the tools you need. In this guide, we'll walk through the basics of layout design and learn how to use paragraph and character styles to work smarter, not harder!
Part 1: Getting Started with Layout Design
What is InDesign?
So, what is InDesign? Well, InDesign is a desktop publishing software made by Adobe, and it's a favorite tool among professional designers for creating all kinds of print and digital layouts. You can use it to design everything from magazines and newspapers to books, e-books, brochures, flyers, posters, signs, business cards, and so much more. It’s especially powerful when it comes to handling multi-page documents, text formatting, and precise layout control—making it a go-to for polished, professional designs.
Setting Up Your First Document
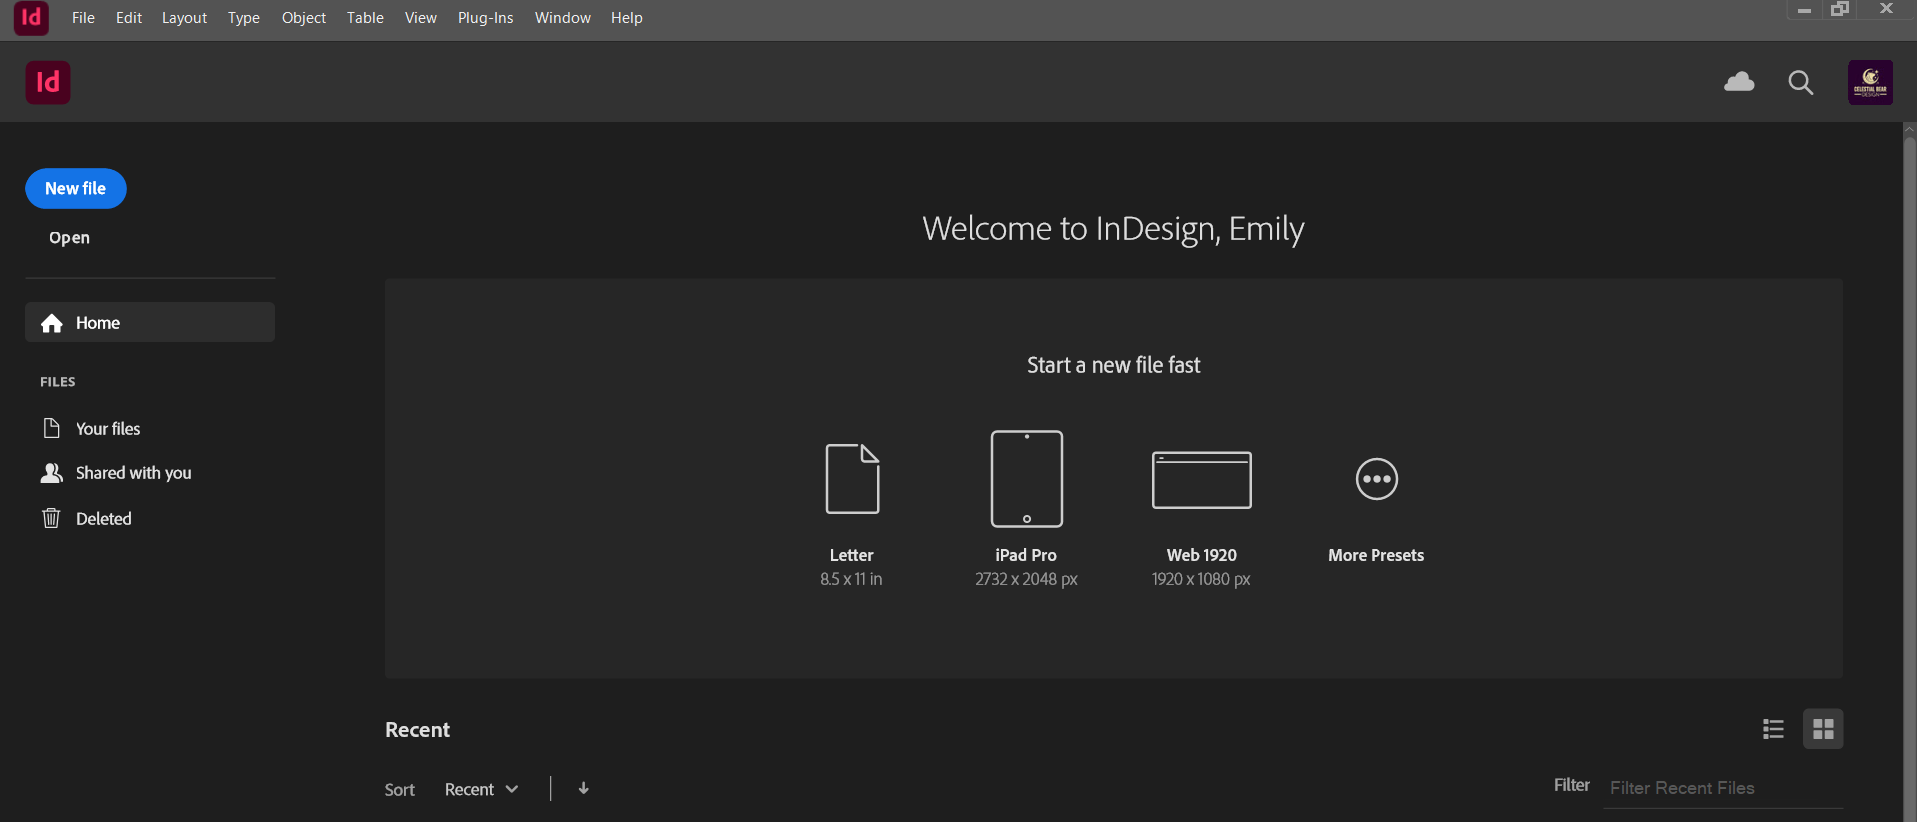
When you open InDesign, you'll see a start screen. To create a new document:
Click "Create New" or go to File > New > Document
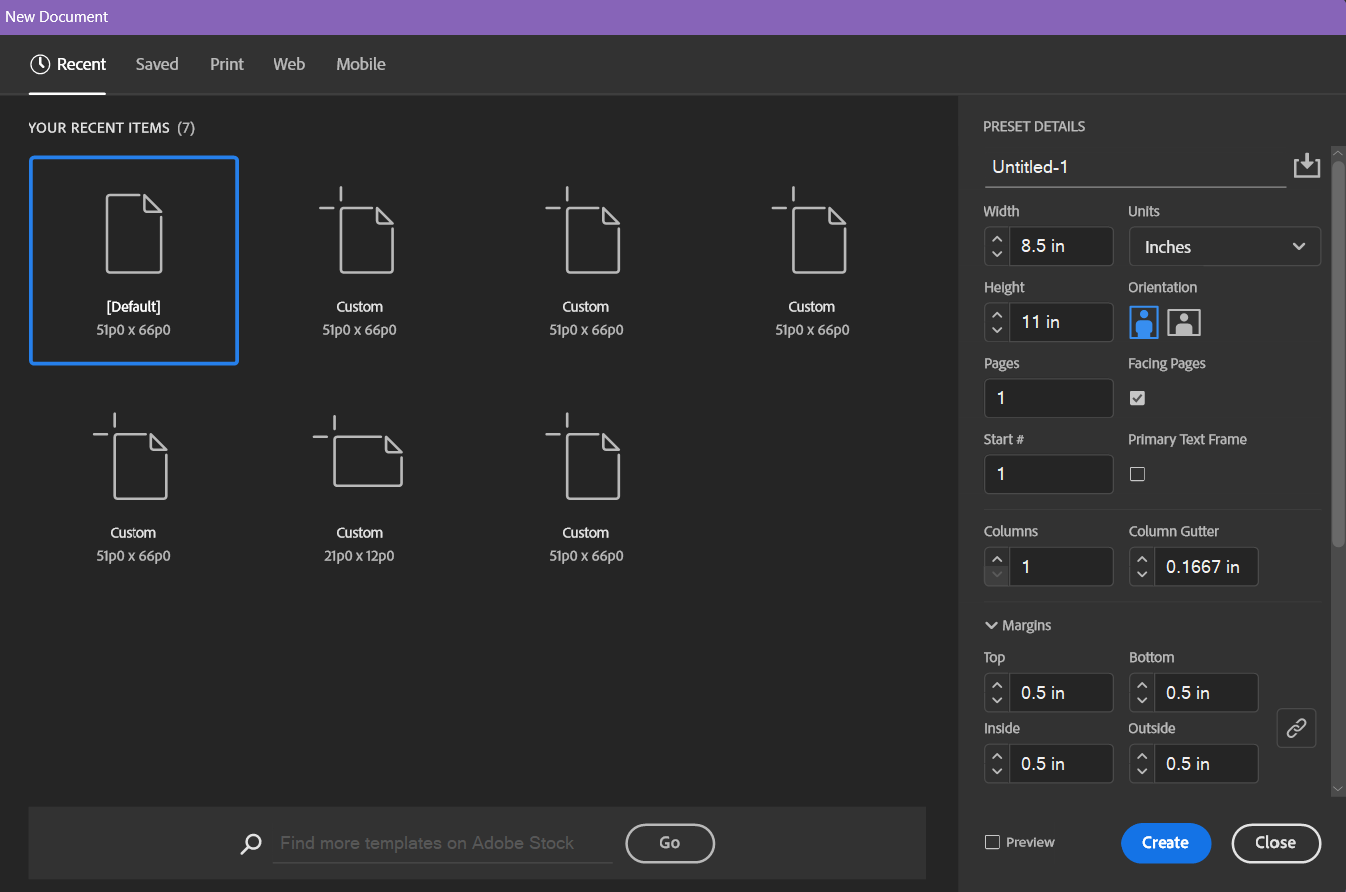
Choose whether you want a Print, Web, or Mobile document depending on what type of document you are creating!
Select a preset size or enter your own dimensions if you know what size you need!
Set the number of pages you need
Check if you need facing pages (like for a book)
Set your columns, margins and bleed (if needed for printing) *I like to set my columns before I start but they can always be adjusted later on as well!
Click "Create"
Understanding the Workspace
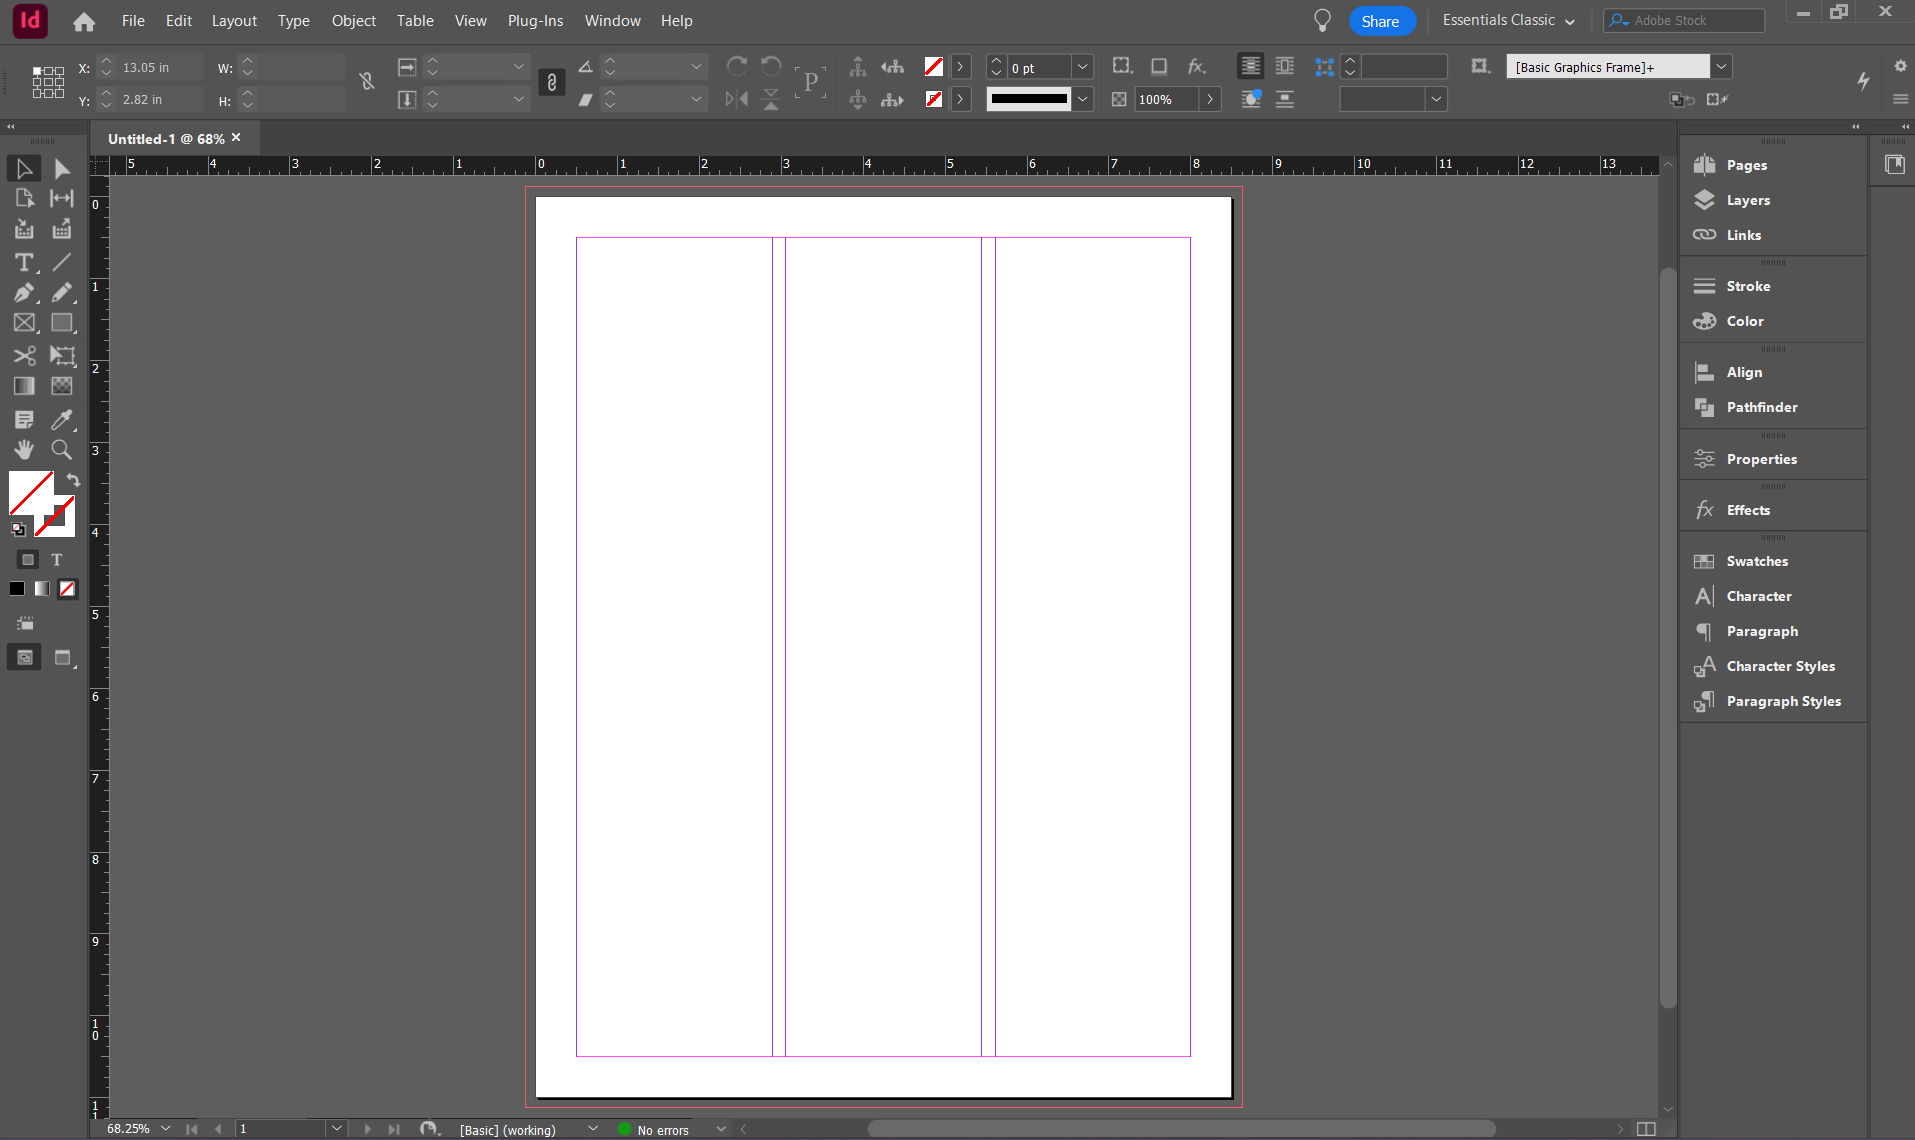
Let's look at the main parts of the InDesign screen:
Tools Panel: On the left side, you'll find tools for selecting, typing, drawing, and more.
Properties Panel: At the top, this panel shows options for whatever you have selected.
Pages Panel: Usually on the right, this shows all the pages in your document.
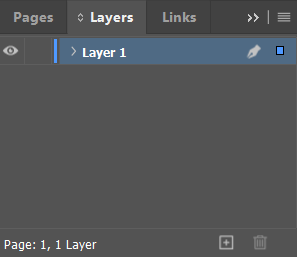
Layers Panel: Helps you organize your content in stackable layers.
Document Window: The main area where you see and work on your pages.


Working with Frames
In InDesign, almost everything lives in frames. There are three main types:
Text Frames: Hold text content
Image Frames: Hold pictures and graphics
Graphic Frames: Hold shapes and lines
To create a frame:
Select the frame tool from the Tools panel
Click and drag on your page to create the frame
Adjust the size using the Selection tool
In the video below I show you how to create text and image frames. Shapes and lines work very similar, using the line or shape tools!
Adding Text
To add text to your layout:
Create a text frame using the Text Frame tool (T)
Click inside the frame and start typing
Or go to File > Place to import text from another document
Pro Tip: Connect text frames so text flows from one to another! To do this:
Click the small square on the out port of the first frame
Click on the second frame or drag to create a new frame
Adding Images
To add images:
Create an image frame using the Frame tool
Go to File > Place and select your image
Click inside the frame to place the image
An alternative for this is that you can drag and drop your images from the folder they are saved in! This is my preference so I can add multiple images easily!
Fitting Images:
Select your image frame, Right-click, and choose a fitting option
You can also use the fitting options found in the Properties panel or object menu to adjust how the image fits in the frame
For the video below I have already dragged and dropped my images into their frames and will be showing how to use the right click menu to fit as well as the fitting options in the object menu at the top of the workspace.
Basic Layout Concepts
Grids and Guides: Grids and guides can help keep your layout organized and aligned.
To create guides, click and drag from the rulers
To set up a grid, go to Layout > Create Guides
Alignment: Use the Align panel to line up multiple objects perfectly.
Select multiple objects with the Selection tool
Use the Align panel to arrange them horizontally or vertically

Conclusion
You now have the basic skills to start creating layouts in InDesign! Remember these key points:
Frames are the building blocks of InDesign layouts
Text and images work together to create compelling designs
Guides and grids help keep everything aligned and organized
The workspace is customizable to fit your workflow
Practice is key to becoming comfortable with the interface
Layout design might seem complicated at first, but taking it step by step makes it manageable. Start with simple projects like flyers or single-page layouts before moving on to more complex designs. Next week I will be sharing part 2 of InDesign 101: Mastering Paragraph & Character Styles!
The most important thing is to keep experimenting and having fun with your designs. Don't be afraid to try new features and tools as you become more comfortable with the basics.
If this helps you I would love to see your first project! Share with me in the comments below, via email at emily@celestialbeardesign.com or tag me on instagram @celestialbeardesign
Still have questions or need a little more help? I am happy to help! Comment below or send me an email and we can discuss further!